Party Animals Copic Marker Tutorial
March 22, 2017
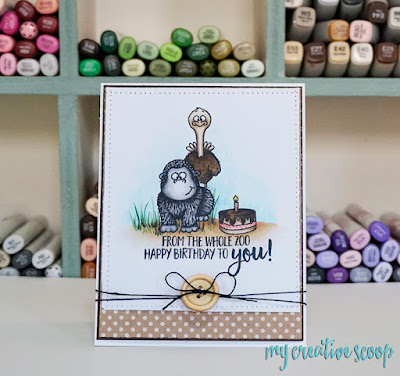
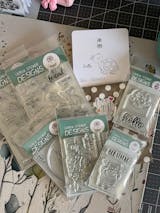
I'm using the new stamp set, Animal Party and we are going to mask a scene, then create different animal textures with our Copic Markers. I always use patterned paper scraps to do this, then I cut him out, with some fussy cutting. Then, lay the patterned paper chimp over your actual image you're going to color. Now, you're going to ink up the stamp you want behind, I'm using the ostrich, and stamp him where you want. Just like in this first photo.
Now, color your image using N0, N1, N3 and N5. You don't have to make it too detailed since we will do that when we add the texture, but you do want to add some shadows. You'll make shadows with the N5 then blending out with the next color and so on, the darkest areas will be just behind the shoulder on the back and side, the outer part of the sides of the face, under the neck, under the chest and on the inner parts of the arms.
Then use N9 to make tiny flicks and dots all over the gorilla, creating the hair like texture. Notice how I've even made the flicks come out of the outline just a little.
Now, with the N5 we are going to shadow those shadowed areas again, making them stand out a little more.
Then go back and add more N9.
Time to add a different type of texture to the ostrich. We want more of a fluffy, feathery look. So using E41, E42 and E43 color the neck and when you get to the body, add spots until the body is fully covered. Start with a little bit of the E42, and then E43 and then fully cover with E41.
We still want to define shadow areas so behind the neck and under the wing and some spots using E49 and E45.
Then go over the entire body again with E43, blending all the colors in a little. When doing this you still want to 'dot'.
Then add little finishing touches to your scene and you're all done!
I hope you have enjoyed my tutorial and card. Have a wonderful day!
Leave a comment
Comments will be approved before showing up.


